
To keep your pool filter working well, check and clean it often. Aim for once a month or when the pressure gauge goes up 8 to 10 PSI above normal. Make sure your pump runs for 8 to 12 hours each day for good water flow. Backwash sand and DE filters when needed, and change cartridges if they are worn out.
Keep the pool clear of dirt, balance the water chemicals, maintain proper pool filtration, and look for leaks or clogs in the system.
What is Turnover Rate and Water Circulation in Pools?
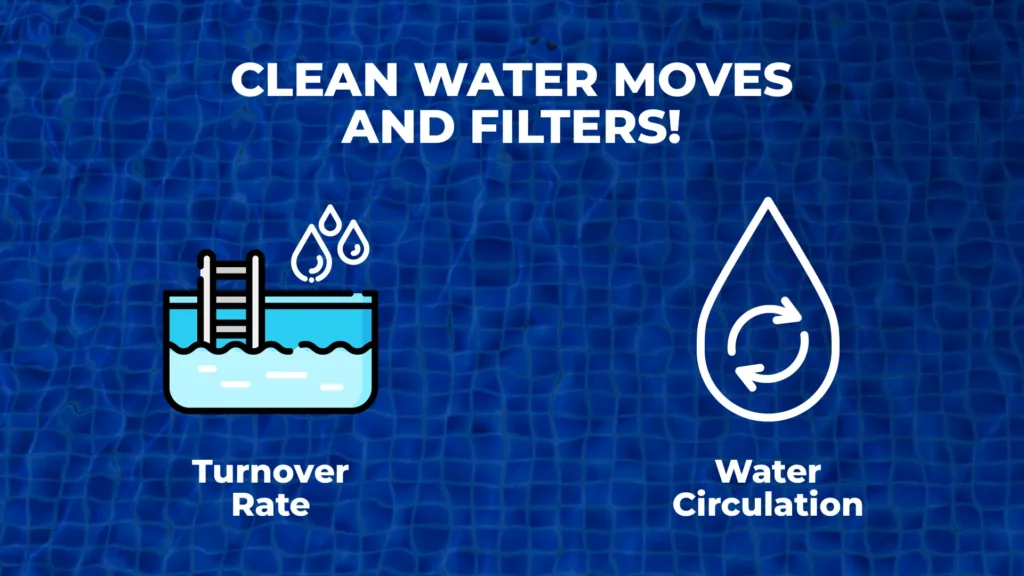
Turnover rate is how often the water in a swimming pool is filtered and cleaned. It shows how long it takes for all the water in the pool to go through the filter system once.
Water circulation is important for keeping the pool clean. It helps to move the water around so that dirt and debris can be caught by the filter.
Good circulation keeps the water clear and safe for swimming. To keep your pool healthy, you should know both the turnover rate and how well the water circulates. This will help maintain clean and clear water for everyone to enjoy.
For example, if your filter system runs at 100 gallons per minute and you have a 30,000 gallon pool, your system achieves a 5 hour turnover rate (since 6,000 GPM / 30,000 gallons = 5 hours).
How to make pool filter work better in 8 steps
Step 1: Check Out Your Skimmers
The skimmer is your pool’s first line of defense. It removes floating debris before it reaches the filter. However, many skimmer systems are either broken or not functioning properly.
Here’s how to inspect and improve them:
What to do:
- Basket Check: Remove the skimmer basket and look for cracks or holes. If broken, find the part number printed on the basket and order a replacement.
- Weir Inspection: This is the flapper or door that moves with water flow. Make sure it’s attached and swings freely. If stuck or missing, replace it.
- Flow Adjustment Plate: Remove the pump basket and look into the two holes. One leads to the pump, the other to the equalizer line. Adjust the suction plate to balance flow for stronger skimming.
- Lid Safety: Ensure the skimmer lid is tight and undamaged. A loose lid can be a safety hazard.
Example: If your basket has even small cracks, debris may pass through and clog your pump.
Step 2: Use a Manual Vacuum Line
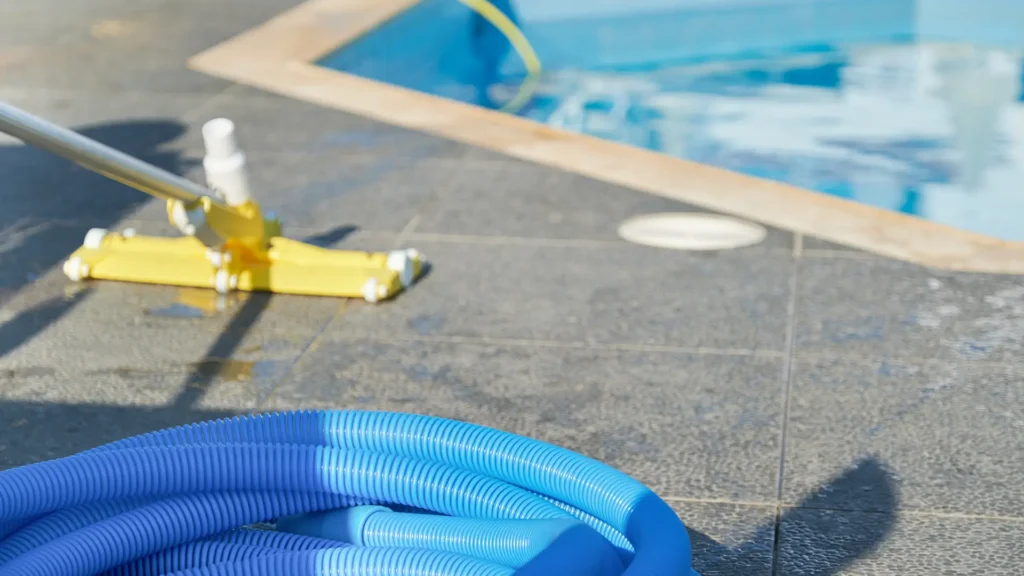
Even if you have a robotic or suction-side cleaner, manual vacuuming provides a deeper clean.
What to do:
- Purchase a 14″ weighted vacuum head with adjustable wheels.
- Get a 1.5″ vacuum hose with a swivel cuff (40 feet is usually enough).
- Connect the hose to the vacuum head, submerge it to fill with water.
- Insert the hose into the skimmer suction port while the pump is running.
- Slowly vacuum the pool floor and walls.
Example: After a storm, your automatic cleaner might miss fine dirt at the bottom. Manual vacuuming will ensure it’s removed.
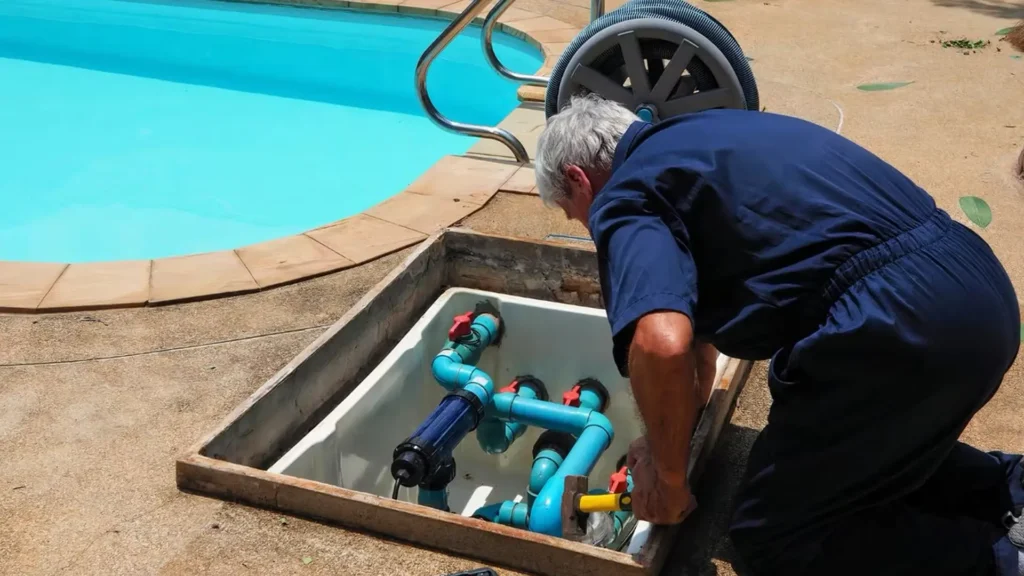
Step 3: Adjust the Suction Manifold
This is the group of valves in front of your pool pump that controls where suction comes from.
What to do:
- Locate the suction valves near the pump.
- Identify which valve controls skimmers and which controls the main drain.
- Adjust the skimmer valve to be about 75% open and the main drain valve to be 25% open.
Why it matters:
- Debris floats on the surface.
- Pulling more water through skimmers ensures better surface cleaning.
Step 4: Optimize Pool Pump Settings
Your pump controls how long and how strongly your water circulates.
What to do:
- Run your pump for at least 8 hours a day in summer.
- If you have a Variable Speed Pump (VSP), program it to run slower for longer (e.g., 16 hours at 50–70%).
- Replace broken pump baskets and lubricate gaskets.
Example: A pump running at 70% for 16 hours uses less power and filters more water than one at 100% for 8 hours.
Pro Tip: Read your VSP manual and experiment with settings. Most homeowners leave it on the factory default, missing out on savings and performance.
Step 5: Maintain Your Filtration System
Every filter (cartridge, sand, or DE) needs attention. Check the pressure gauge weekly. If pressure rises 8–10 PSI over baseline, clean or backwash.
- How to make sand filter more efficient: Backwash until water runs clear + 1 extra minute.
- How to make Cartridge filters more efficient: Clean with a degreaser and rinse thoroughly.
To keep in mind: Sunscreen and lotions build up on cartridges and don’t rinse off with water alone, you can find more info of this, here.
Step 6: Keep the Pool Heater in Shape
Heaters, when not properly maintained, can lead to a decrease in flow rates and can negatively affect the process of filtration. It is important to ensure that heaters are functioning correctly to avoid any hindrance in the efficiency of these systems.
What to do:
- Clean the heat exchanger yearly.
- Avoid pushing excessive flow through the heater.
- Balance water chemistry (especially pH and alkalinity) to avoid corrosion.
- If water chemistry is too acidic, the copper tubes inside can corrode, reducing efficiency.
Step 7: Upgrade Chlorine Feeders or Salt Systems
Sanitizing systems are designed to help maintain the cleanliness and effectiveness of filters; however, if these systems are not utilized correctly, they can hurt the performance of the filters.
What to do:
- Never put chlorine tablets in the skimmer.
- For feeders, fill no more than halfway.
- Salt systems: Install a sacrificial anode to prevent corrosion.
Pro Tip: It’s a good idea to set your salt system to turn off 15 minutes before your pump does. This helps prevent scale from forming on the cell. If you don’t have a salt system yet, you can get a free quote to learn more today.
Step 8: Monitor Water Balance and Chemical Dosing

When the chemical levels are either too high or too low, it can lead to reduced efficiency in the filter’s ability to clean the water effectively. Moreover, consistently maintaining the correct chemical balance is essential in prolonging the operational lifespan of the filter, which ultimately saves you time and money on replacements and maintenance.
What to do:
- Keep chlorine between 1–3 ppm.
- Maintain stabilizer (cyanuric acid) around 50 ppm (70 ppm in sunny areas).
- Test pH, alkalinity, and calcium hardness weekly.
- Add chemicals early in the morning or late evening to reduce chlorine loss from sunlight.
Pro Tip: Use a digital test kit or app-connected tester for accurate and trackable water data.
Amenity Makes Filtration Simple
The funny thing about pool maintenance is that 95% of the effort required to operate a pool only gets you 50% of the way to a properly working pool. Putting forth that last 5% of effort needed really delivers on that last 50%. Take these steps and you will be shocked at how much better your pool looks.
FAQ's
1. How to make sand filter more efficient?
To keep the sand filter working better, just give it a good rinse when the pressure gauge goes up by 8–10 PSI from the usual. Use a pool clarifier to catch those tiny bits, and swap out the sand in the filter every few years, like 3 to 5.
2. How effective is my pool filter?
How well your pool filter works really depends on what kind it is (sand, cartridge, or DE), how you take care of it, and how the water moves around in the pool. If you see the water looking murky, it’s moving slow, or stuff’s coming back to the pool, your filter’s probably not doing its job right.
3. How many hours a day should I run my pool filter?
You gotta make sure your pool filter runs for like 8 to 12 hours every day when it’s swim season. This makes sure the water gets fully moved around and cleaned up well. If you’ve got a pump that can change speeds, it’s smarter to keep it going for a longer time at a slower pace—like 16 hours at 50–70%—to cut down on power use but still
4. What causes poor filtration in a pool?
When the filter media gets blocked or worn out, the pump settings aren’t right, the skimmers are grimy, or the water’s chemistry is off, the filtration doesn’t work as it should. other reasons might be that the gear’s too small or there are leaks in the setup. keeping an eye on the water flow and pressure helps stop any issues with the filtration system.
5. What is Pool turnover?
Pool turnover rate is the measure of how quickly a pool’s water is replaced with fresh water. The turnover rate is basically how long it takes for all the water in your pool to go through the filter once. A solid turnover rate means the water gets cleaned up on a regular basis. For example, if your pool holds 30,000 gallons and your pump moves 100 gallons per minute, the turnover rate is 5 hours. try to get through all your work in one go, ideally every day.